> ## Documentation Index
> Fetch the complete documentation index at: https://craft-support.mintlify.site/llms.txt
> Use this file to discover all available pages before exploring further.
# カスタムプロンプト
> 再利用可能なAI指示を作成して、ワークフローに合わせた一貫性のあるパーソナライズされた結果を得ましょう。
カスタムプロンプトを使用すると、Assistantに再利用可能な指示を保存できます。毎回同じリクエストを書き直す必要がなく、1つのプロンプトを適用するだけで一貫した結果を得ることができます。
## カスタムプロンプトとは?
カスタムプロンプトは、繰り返し行うタスク用に作成する再利用可能な指示です。
よくある使用例:
* 好みのトーンでテキストを書き直す
* ノートやドキュメントを構造化する
* コンテンツを特定の言語に翻訳する
* 決まったフォーマットで要約する
* タスクリストやプランを生成する
* 一貫したキャプションや代替テキストを作成する
## カスタムプロンプトへのアクセス
サイドバー上部の**スペース名**をクリックして、設定を開きます。
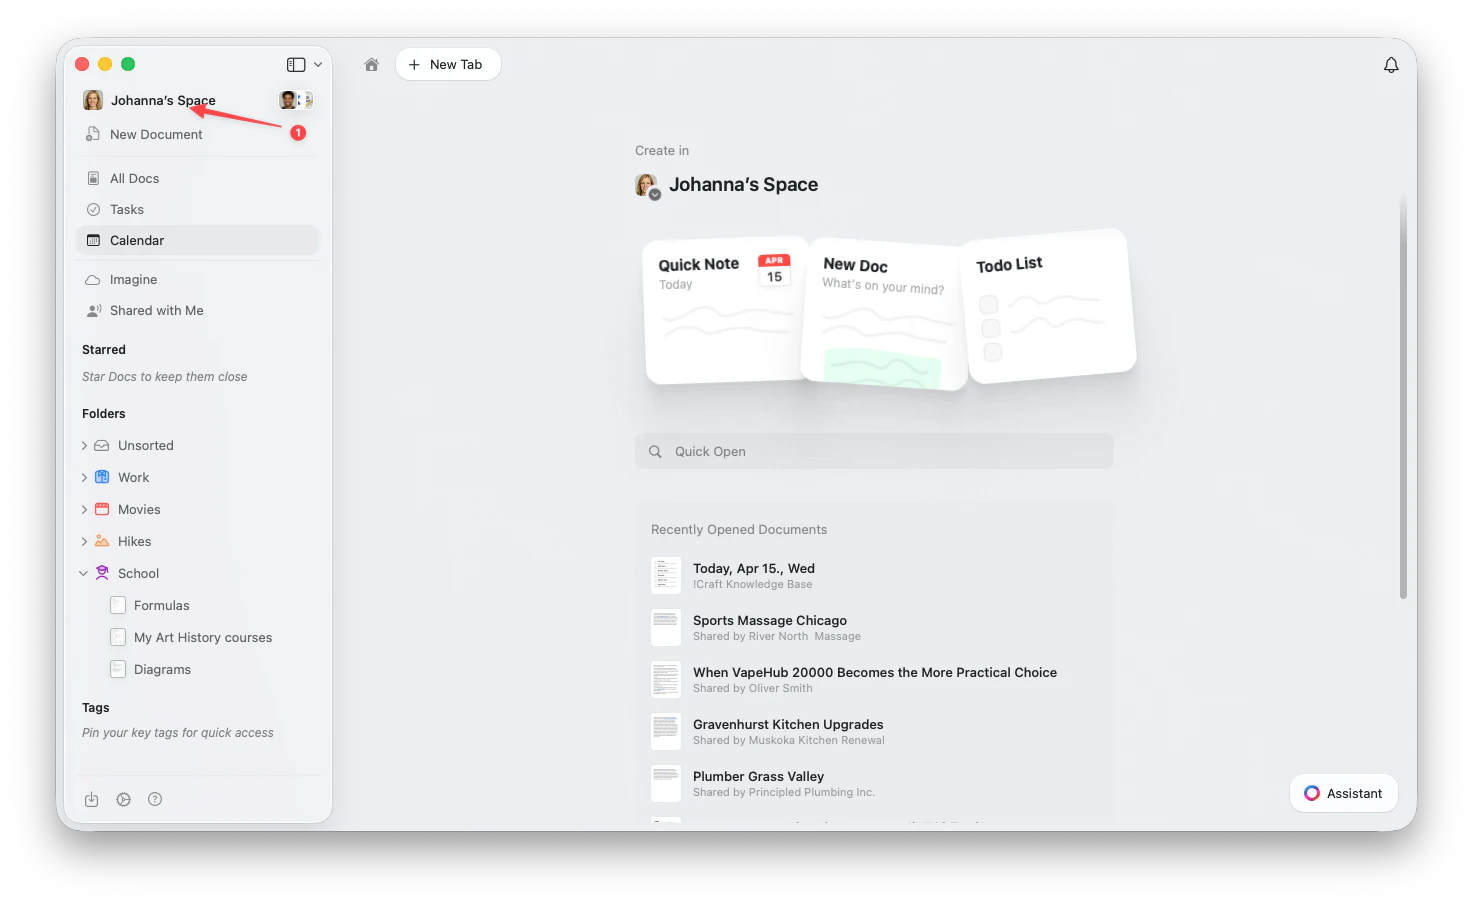 左上隅の**スペース名**をクリックします。
ドロップダウンの下部にある**設定**をクリックします。
左上隅の**スペース名**をクリックします。
ドロップダウンの下部にある**設定**をクリックします。
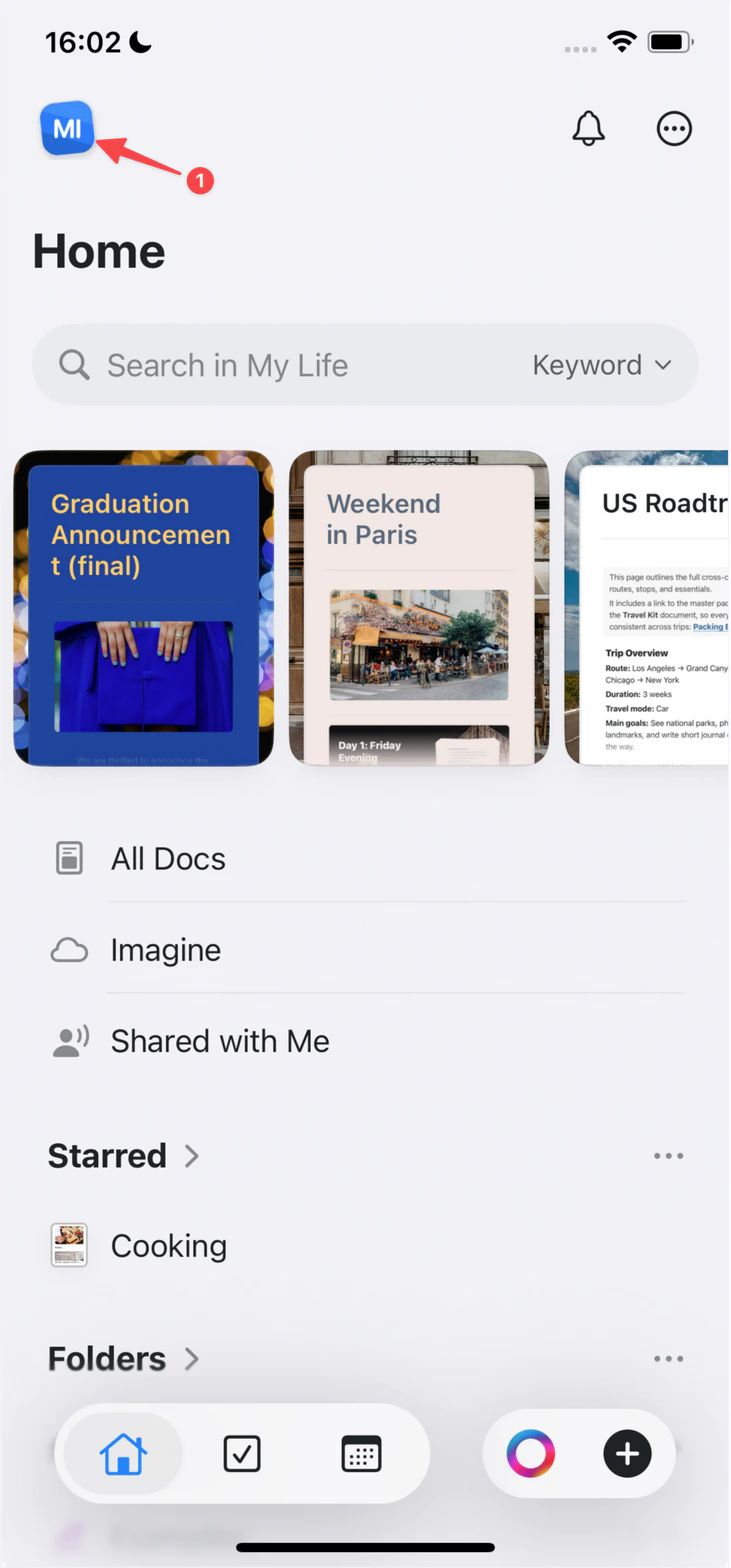
 左上隅の**スペースアイコン**をタップします。
 **設定**をタップします。
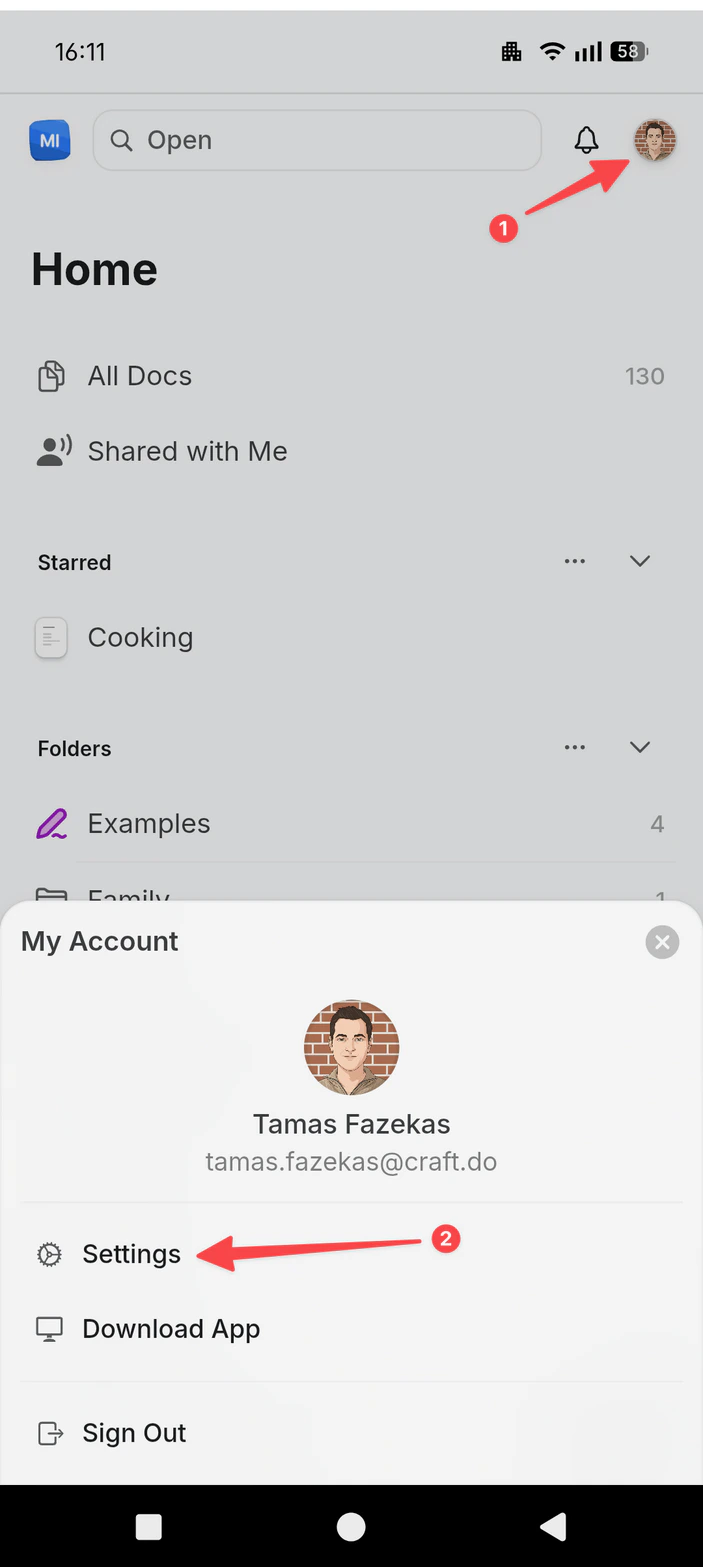
右上隅の**プロフィール写真**をタップします。
**設定**をタップします。
**設定**をタップします。
右上隅の**プロフィール写真**をタップします。
**設定**をタップします。
 **Assistant**に移動します。
**保存済みプロンプト**までスクロールします。
**プロンプトを追加**をクリックします。
**Assistant**に移動します。
**保存済みプロンプト**までスクロールします。
**プロンプトを追加**をクリックします。
 ## 効果的なプロンプトの作成
最も良いプロンプトは、具体的でフォーマットを意識したものです。
* ✓ 「アクションアイテムに焦点を当てて、3つの箇条書きで要約してください」
* ✗ 「要約してください」
* ✓ 「ブログの導入文として親しみやすいトーンで書き直してください」
* ✗ 「もっと良くしてください」
## プロンプトの例
```
Title: Meeting Summary
Prompt: Extract key decisions, action items, and next steps from this note. Format as:
- Decisions: [list]
- Action Items: [list with owners]
- Next Steps: [list with dates]
```
```
Title: Restyle Document
Prompt: Restyle this document with colored section headings, callout boxes for key points, and subtle dividers between sections.
```
```
Title: Create Subpages
Prompt: Break this document into subpages, one per major section, and keep a short table of contents on the parent page.
```
```
Title: Restructure Notes
Prompt: Reorganize these notes into clear sections with headings: Context, Decisions, Action Items, and Follow-ups.
```
## 制限事項
* 最大**20個の保存済みプロンプト**
* プロンプトあたり最大**1,000文字**
## カスタムプロンプトの使用
Assistantパネルを開きます。
クイックアクションから保存済みプロンプトを見つけます。
選択して適用します。
Assistantパネルでプロンプト名を検索できます。
## 編集プロンプトのサポート
編集向けのプロンプトには、**Fast**または**Max**モデルの**実行**モードが必要です。
## プロンプトの管理
**プロンプトを編集する:**
* 設定 → Assistant → 保存済みプロンプトに移動
* プロンプトを選択
* タイトルまたは内容を更新
* 保存
**プロンプトを削除する:**
* 設定 → Assistant → 保存済みプロンプトに移動
* プロンプトの削除をクリック
* 確認
## 関連記事
Assistantの基本的な使い方を学ぶ
実行モードでプロンプトをドキュメントに直接適用する
プロンプトに適したモデルを選ぶ
一貫したテキストフォーマットとスタイリングのプロンプトを作成する
## 効果的なプロンプトの作成
最も良いプロンプトは、具体的でフォーマットを意識したものです。
* ✓ 「アクションアイテムに焦点を当てて、3つの箇条書きで要約してください」
* ✗ 「要約してください」
* ✓ 「ブログの導入文として親しみやすいトーンで書き直してください」
* ✗ 「もっと良くしてください」
## プロンプトの例
```
Title: Meeting Summary
Prompt: Extract key decisions, action items, and next steps from this note. Format as:
- Decisions: [list]
- Action Items: [list with owners]
- Next Steps: [list with dates]
```
```
Title: Restyle Document
Prompt: Restyle this document with colored section headings, callout boxes for key points, and subtle dividers between sections.
```
```
Title: Create Subpages
Prompt: Break this document into subpages, one per major section, and keep a short table of contents on the parent page.
```
```
Title: Restructure Notes
Prompt: Reorganize these notes into clear sections with headings: Context, Decisions, Action Items, and Follow-ups.
```
## 制限事項
* 最大**20個の保存済みプロンプト**
* プロンプトあたり最大**1,000文字**
## カスタムプロンプトの使用
Assistantパネルを開きます。
クイックアクションから保存済みプロンプトを見つけます。
選択して適用します。
Assistantパネルでプロンプト名を検索できます。
## 編集プロンプトのサポート
編集向けのプロンプトには、**Fast**または**Max**モデルの**実行**モードが必要です。
## プロンプトの管理
**プロンプトを編集する:**
* 設定 → Assistant → 保存済みプロンプトに移動
* プロンプトを選択
* タイトルまたは内容を更新
* 保存
**プロンプトを削除する:**
* 設定 → Assistant → 保存済みプロンプトに移動
* プロンプトの削除をクリック
* 確認
## 関連記事
Assistantの基本的な使い方を学ぶ
実行モードでプロンプトをドキュメントに直接適用する
プロンプトに適したモデルを選ぶ
一貫したテキストフォーマットとスタイリングのプロンプトを作成する