For general Collections concepts like field types, views, and sorting, see the Collections Overview and Collection Views articles.
Getting Started
Create a Collection inside any document using the slash menu or the block menu. On iOS, the creation flow lets you configure your fields and start adding entries right away.
Creating and Editing Entries
Adding Entries
Use the Add button at the top right or the + button at the bottom left to create new entries.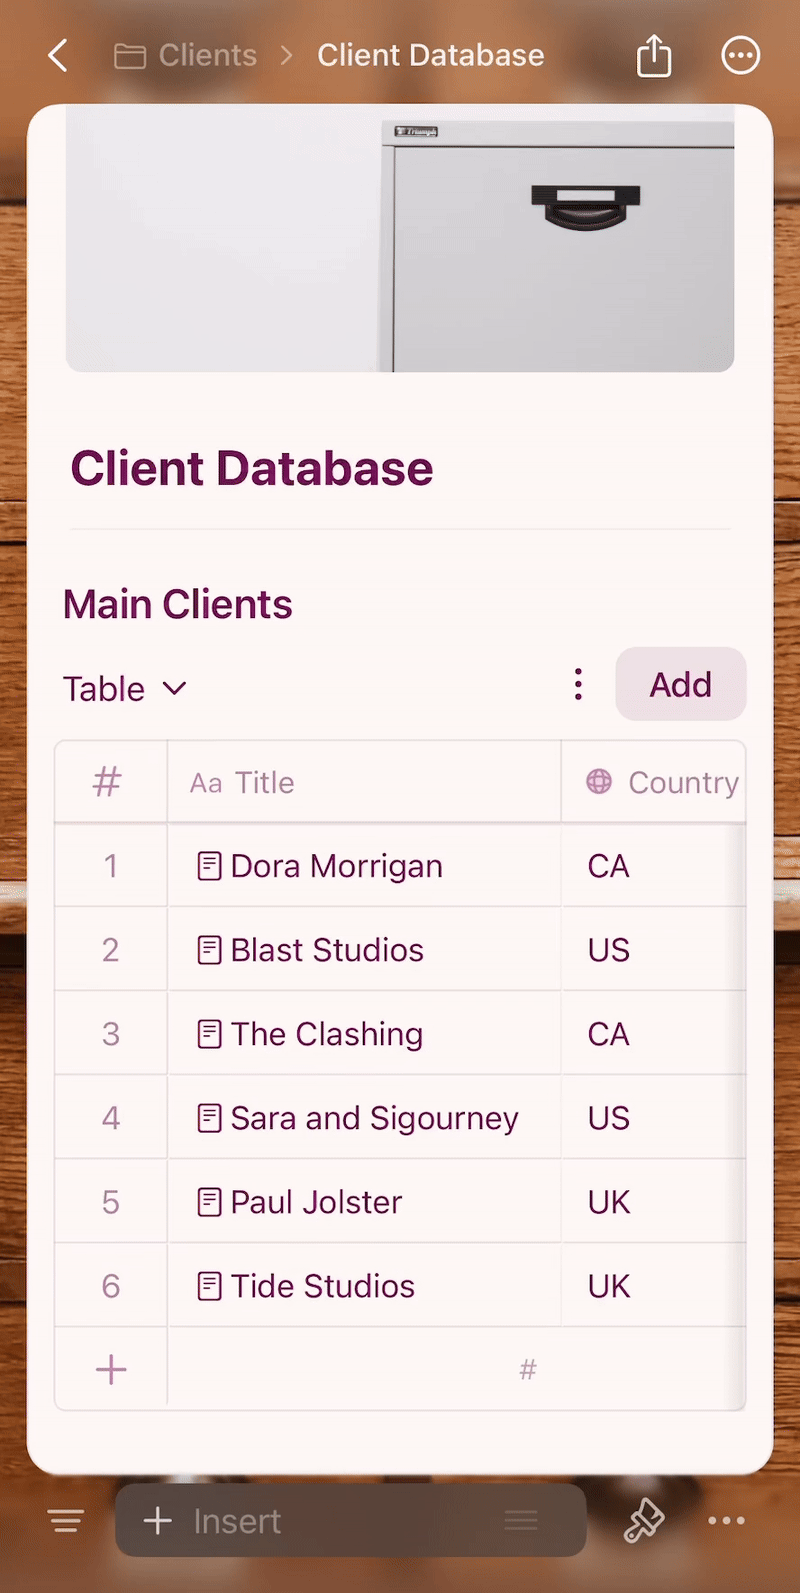
Filling in Data
Tap any cell to edit it. Select fields show your predefined options for quick input.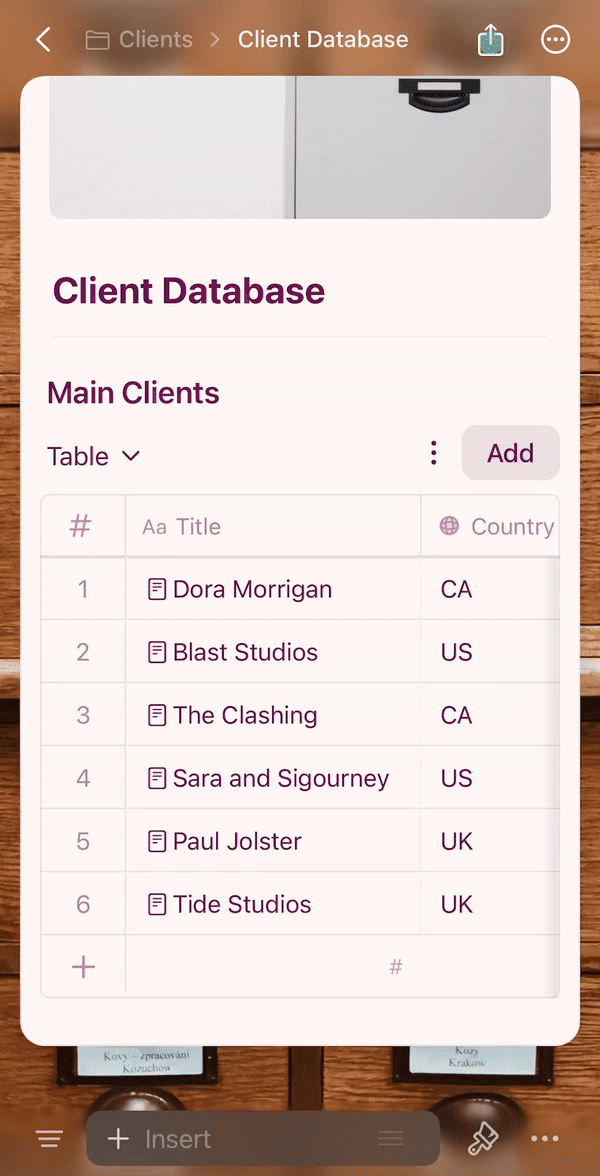
Adding Content to Entries
Each entry in a Collection is its own page in Craft. Tap the entry title to open it and add any content — text, images, links, or nested pages.
Deleting Entries
Long-press on any row to access the context menu. You can delete the entire entry or clear specific cell content.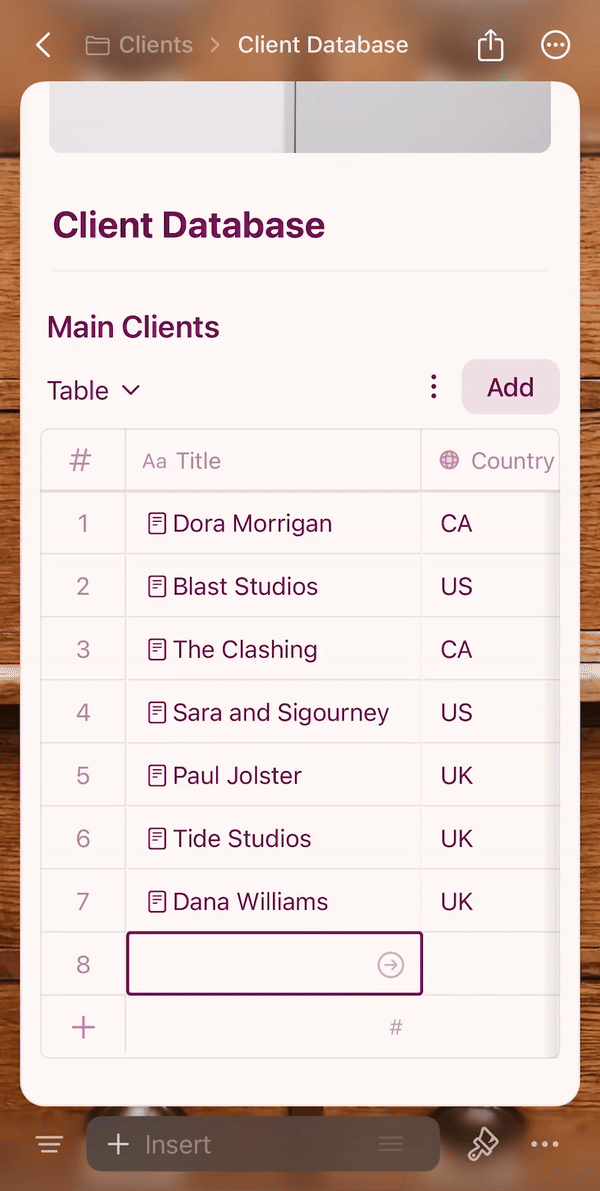
Managing Select Field Options
When you need a new option for a select field, type it directly and tap Add Option.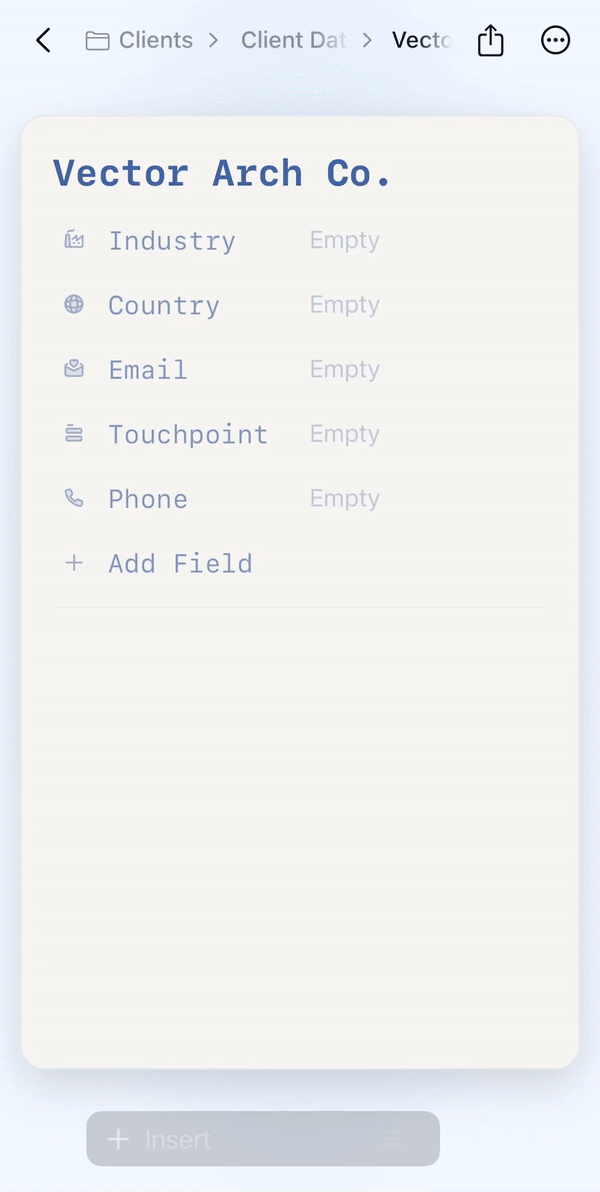
1
Tap on the field header to open field settings
2
Tap the value you want to delete
3
Select Delete from the options
4
Tap Apply to save changes
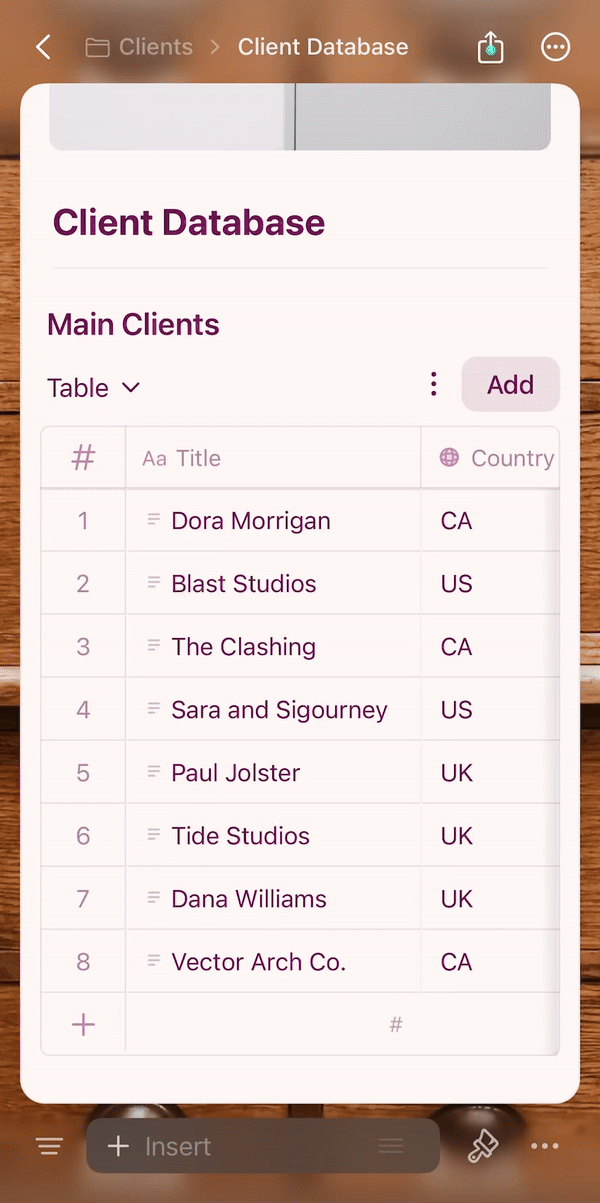
Table View on iOS
Table View on iOS works like a spreadsheet with touch-optimized interactions:- Scroll horizontally to see more columns
- Tap a cell to edit its value
- Long-press a row for the context menu (delete, duplicate)
- Resize columns by dragging column borders
Gallery View on iOS
Gallery View displays your entries as visual cards with image previews, optimized for touch.
- Tap a card to open the entry
- Long-press a card for the context menu with options to select, delete, or manage the card
Fullscreen Mode (iPhone)
On iPhone, tap an inline collection to open it in fullscreen mode with a smooth zoom transition. This gives you the full screen for browsing your collection without the surrounding document. In landscape orientation, the fullscreen view uses the entire screen — the view selector moves to the top bar, and you can scroll to hide and show the toolbars for more space.
Switching Between Views
When your Collection has multiple views, view tabs appear at the top. Tap any tab to switch. To convert a view type or add a new view, use the configure menu (⋯):- Add View — create a new Table or Gallery view
- Turn Into — convert the current view between Table and Gallery

Filtering, Sorting, and Grouping
Access these options through the configure menu (⋯) at the top of your Collection.Filter
Show only entries that match specific criteria.1
Tap the configure menu (⋯)
2
Select Filter and choose your field
3
Set your filter conditions
4
Tap outside the panel to apply
Sort
Arrange entries based on field values.1
Tap the configure menu (⋯)
2
Select Sort and choose your field
3
Choose ascending or descending order
4
Tap outside to apply
Group
Organize entries into groups based on field values.1
Tap the configure menu (⋯)
2
Select Group and choose your field
3
Tap outside to apply — groups are automatically created and labeled
Removing Filters, Sorts, or Groups
Open the configure menu (⋯) and tap the trash icon next to the active filter, sort, or group.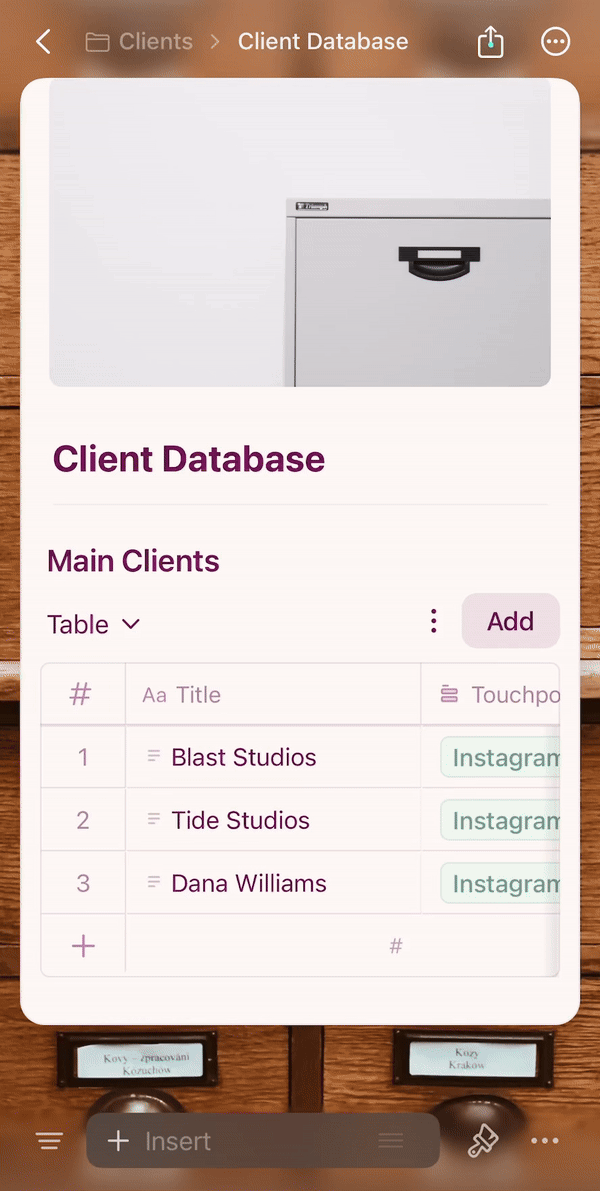
iOS Tips
- Long-press is your right-click — use it on rows, cards, and cells for contextual actions
- Swipe gestures let you quickly navigate between entries
- For the best experience on iPhone, keep Collections focused — iPad handles larger datasets more comfortably.
- Gallery View is great for one-handed browsing on iPhone, especially in fullscreen mode
Related Articles
Collections Overview
Learn about Collections and their core features
Gallery View
Display your Collection as visual cards with image previews
Collection Views
Create and manage different views of your data
Reordering Fields and Columns
Customize field and column order